CM Panel technical documentation Buy
Manage the TFT backlight brightness
This article explain how se the brightness level of the LCD backlight
The GPIO line used to control the LCD backlight brigthness is the GPIO 22
Set the brightness using the pigpio utility
Pigpio is a daemon which allows control of the General Purpose Input Outputs (GPIO).
Its mhe main features are:
- hardware timed sampling and time-stamping of GPIO 0-31 every 5 us
- hardware timed PWM on all of GPIO 0-31
- hardware timed servo pulses on all of GPIO 0-31
- callbacks on GPIO 0-31 level change (time accurate to a few us)
- notifications via pipe on GPIO 0-31 level change
- callbacks at timed intervals
- reading/writing all of the GPIO in a bank (0-31, 32-53) as a single operation
- GPIO reading, writing, modes, and internal pulls
- socket and pipe interfaces for the bulk of the functionality
- waveforms to generate GPIO level changes (time accurate to a few us)
- software serial links using any user GPIO
- rudimentary permission control through the socket and pipe interfaces
- creating and running scripts on the pigpio daemon
To install the pigpio daemon type:
sudo apt update
sudo apt install pigpio
To install the python-pigpio library useful to test the PWM backlight in Python type:
sudo apt install python-pigpio
Run pigpiod
sudo pigpiod -
Try this code example in Python:
#!/usr/bin/python

import sys
import pigpio

# Chech if exist an arg from command line
if len(sys.argv) != 2:
    print("Usage: python lcdbrightness.py <duty_cycle_percentage>")
    sys.exit(1)

# Get the percentage
duty_cycle_percentage = int(sys.argv[1])

# Chek the value range (0-100)
if duty_cycle_percentage < 0 or duty_cycle_percentage > 100:
    print("Duty cycle must be between 0 and 100")
    sys.exit(1)

    duty_cycle_percentage = 100 - duty_cycle_percentage
duty_cycle_percentage = duty_cycle_percentage * 0.25


duty_cycle = int(255 * (duty_cycle_percentage / 100.0))

pi = pigpio.pi()  # Si connette al Raspberry Pi locale

if not pi.connected:
    exit()

gpio_pin = 22  # Imposta il pin GPIO a 22
frequency = 800  # Imposta la frequenza del PWM a 800 Hz

pi.set_mode(gpio_pin, pigpio.OUTPUT)
pi.set_PWM_frequency(gpio_pin, frequency)
pi.set_PWM_dutycycle(gpio_pin, duty_cycle)
Save in a file called lcdbrightness.py and launch:
$ chmod +x pwm.py
$ ./pwm 0
$ ./pwm 50
$ ./lcdbrightness.py 100
Products related
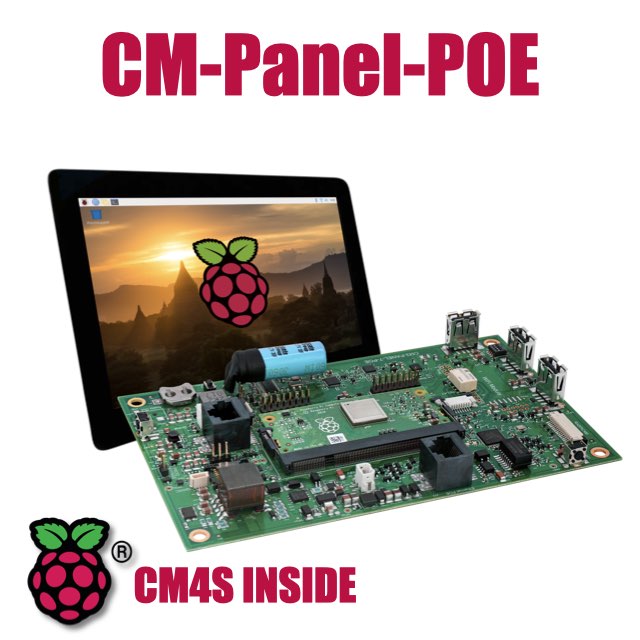
All-in-one 7 inch touch POE terminal powered by Raspberry Pi CM4S
- 7 inch TFT display 800x480 pixel
- Capacitive touch
- Embedded micro UPS for safe shutdown
- Power Over Ethernet @ 10/100 Mbit
- Hi-resolution audio up to 384KHz@32bit
- Real Time Clock with backup battery
- 3 USB Host port
- 1 RS485/422/RS232 port
- 1 Relay
- MIPI Camera connector
- WiFi @ 2.4 GHz (optional)